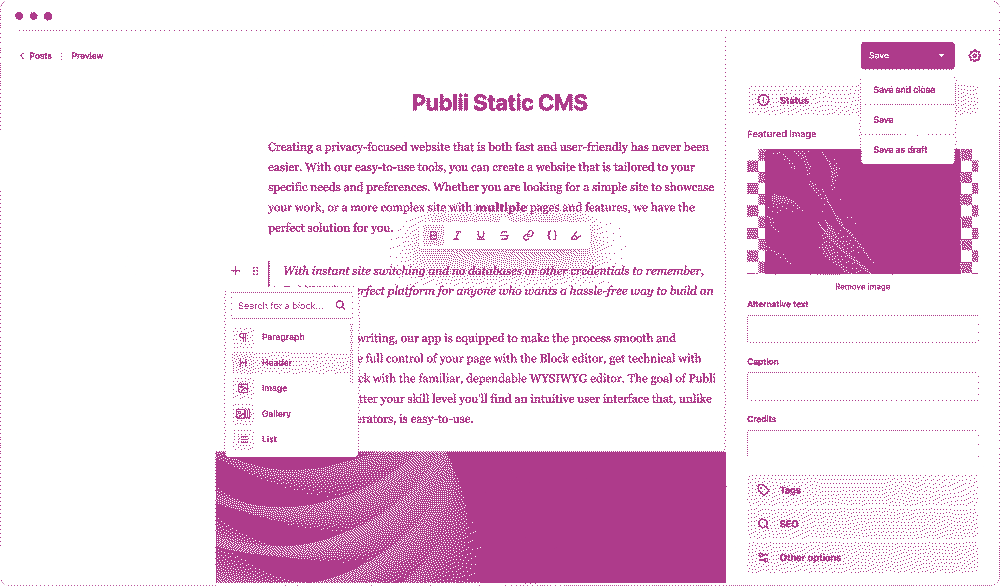
Create a Static Website with Publii
 Published on
| Last edited on
Published on
| Last edited on

This guide will explain how to create a website with Publii (a CMS, or Content Management System), on Tails (an operating system that leaves no trace of your activity on your computer), and how to publish it with the help of one of several radical hosting providers—the comrades who manage the servers on which your site will be published.
Publii is an open-source software that runs on your computer and allows building a static website. You write your content and decide how your website looks, and Publii builds the website and publishes it to the server of your choice. In technical terms, Publii is a static CMS. Because the website it builds is static, it can't include user-generated content such as comments or forum sections. In contrast to a dynamic website like one made with WordPress, a static website can only change when you update it.
Tails is an operating system that leaves no trace of your activity on your computer, and routes all your Internet activity through the Tor anonymity network. The present guide assumes that you already know how to install and use Tails; if you don't, first read our guide Tails for Anarchists.
Compared to using a dynamic CMS (such as the popular Wordpress), using Publii has several benefits for your hosting provider:
- Better security. Dynamic CMS software must run on your provider's servers, and it is known to regularly suffer from critical vulnerabilities that allow individuals (or intelligence agencies) to steal user data and sometimes take control of servers. Just in 2026, several radical hosting providers have been hacked because of vulnerabilities in CMS software (websites from the French network "Réseau Mutu" in June and Noblogs in August). In contrast, Publii runs on your computer and isn't accessible from the Internet, and the hosting provider only has to maintain a web server and a software that lets you upload your site (Publii can upload through SFTP or Git), which are typically simpler and more robust software with far fewer vulnerabilities.
- Smaller workload. Because the hosting provider doesn't have to maintain a complex CMS and worry about its potential vulnerabilities, they have less work to do and are at less risk of burn-out.
Publii also has benefits for you:
- Because it requires less work from the hosting provider, it can be easier to find one. There are more radical hosting providers that offer static website hosting than ones that offer access to a server-side CMS such as Wordpress (especially since the shutdown of radical Italian provider Autistici/Inventati in September 2026, and of their Noblogs platform).
- Because you build the website on your computer, you are fully in control of your site's data. Even if your hosting provider suddenly disappears, bringing your website back online just requires finding a new provider and updating the server configuration in Publii.
If that sounds interesting to you, let's dive in and see how this works!
To protect your website against censorship, we highly recommend choosing a hosting provider that is able to make your website accessible through an .onion address.
Download Publii
Publii is a free and open-source software that can be downloaded from its official website. However, the official version of Publii does not work well with Tails, because it isn't designed for Tails' distinctive security features.
Therefore, we recommend that you download the modified version of Publii made by AnarSec called Publii For Tails. It is almost identical to the official version, but has a few small changes to make it more compatible with Tails. The most important change is that your site data is kept in a folder named Publii next to the Publii For Tails application file, instead of being kept in the Home > Documents folder where it would disappear when you shut down Tails. You can see a full list of changes here.
To download Publii For Tails:
- Start Tails and unlock your Persistent Storage.
- In Tor Browser, download PubliiForTails-0.48.1.zip, and save it to your Persistent folder.
- Once the download is finished, open the Files app and select Persistent in the left panel. Right-click on PubliiForTails-0.48.1.zip and select Extract.
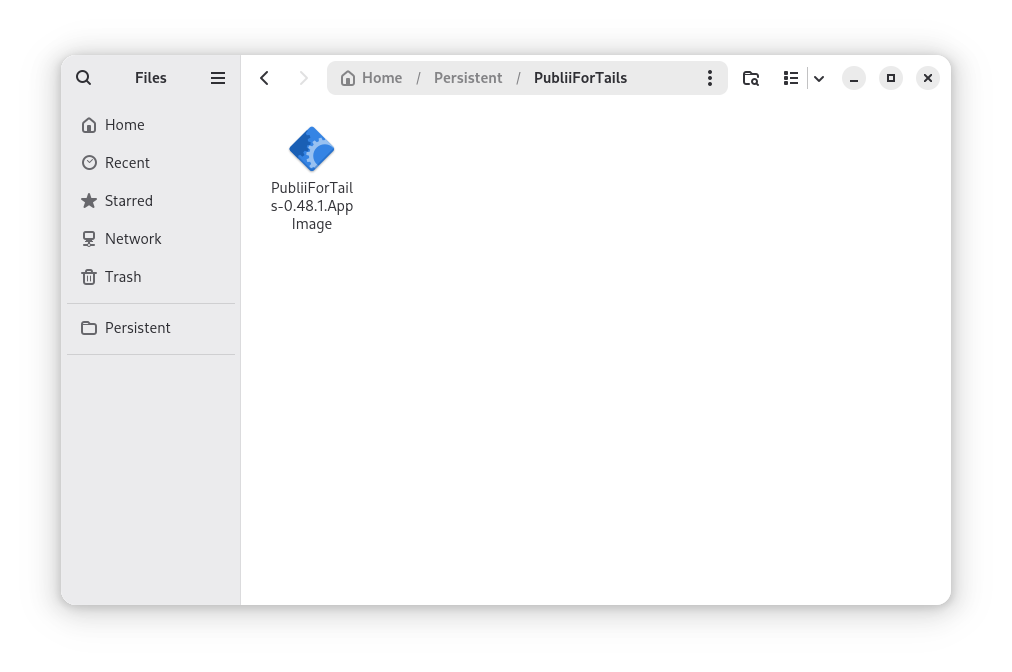
And that's it! Both the Publii software and your future site data will be available in Home > Persistent > PubliiForTails. Proceed to the next section to learn how to launch Publii and create your site.
If you follow the recommendations in our guide Tails Best Practices and store your data on a separate encrypted USB rather than using Persistent Storage, you can follow the instructions above; just save PubliiForTails-0.48.1.zip to your separate USB rather than to Persistent Storage.
Create your Site
To launch Publii, in the Files app, navigate to Home > Persistent > PubliiForTails and double-click on PubliiForTails-0.48.1.AppImage.
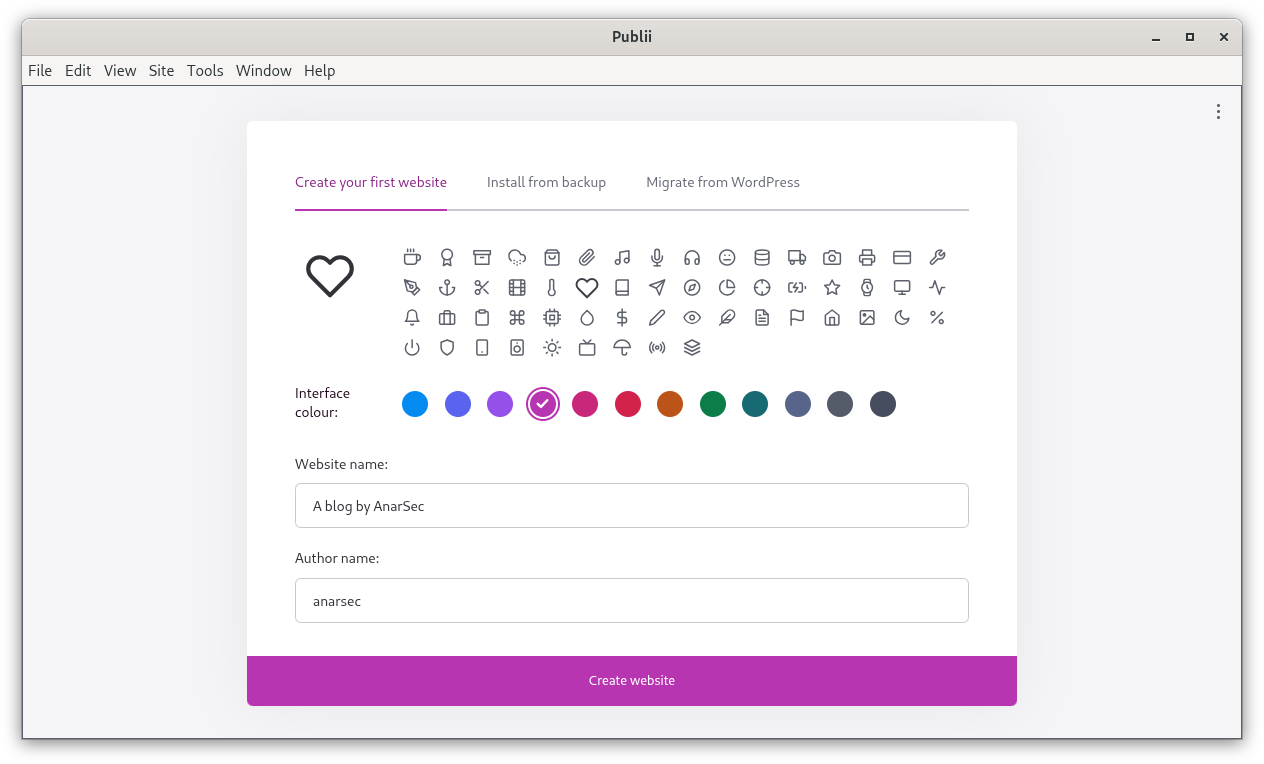
The first time you launch Publii, it will ask that you accept the terms of its open-source license. It will then prompt you to create your first website, either from scratch or by importing a Publii backup or a Wordpress backup. You can find more information on all these options in the "Creating website" section of Publii's official documentation.
After creating your website, you will be presented with Publii's main interface, allowing you to create posts and pages, decide what your website will look like, and configure various settings related to your site's content. When creating a post or page you will be asked to choose your preferred editor—for most people we recommend the WYSIWYG ("What You See Is What You Get") editor, but feel free to experiment and choose the one you prefer. "Preview" buttons scattered throughout the interface open local versions of your site's pages in Tor Browser, allowing you to see what your website will look like once it's published online.
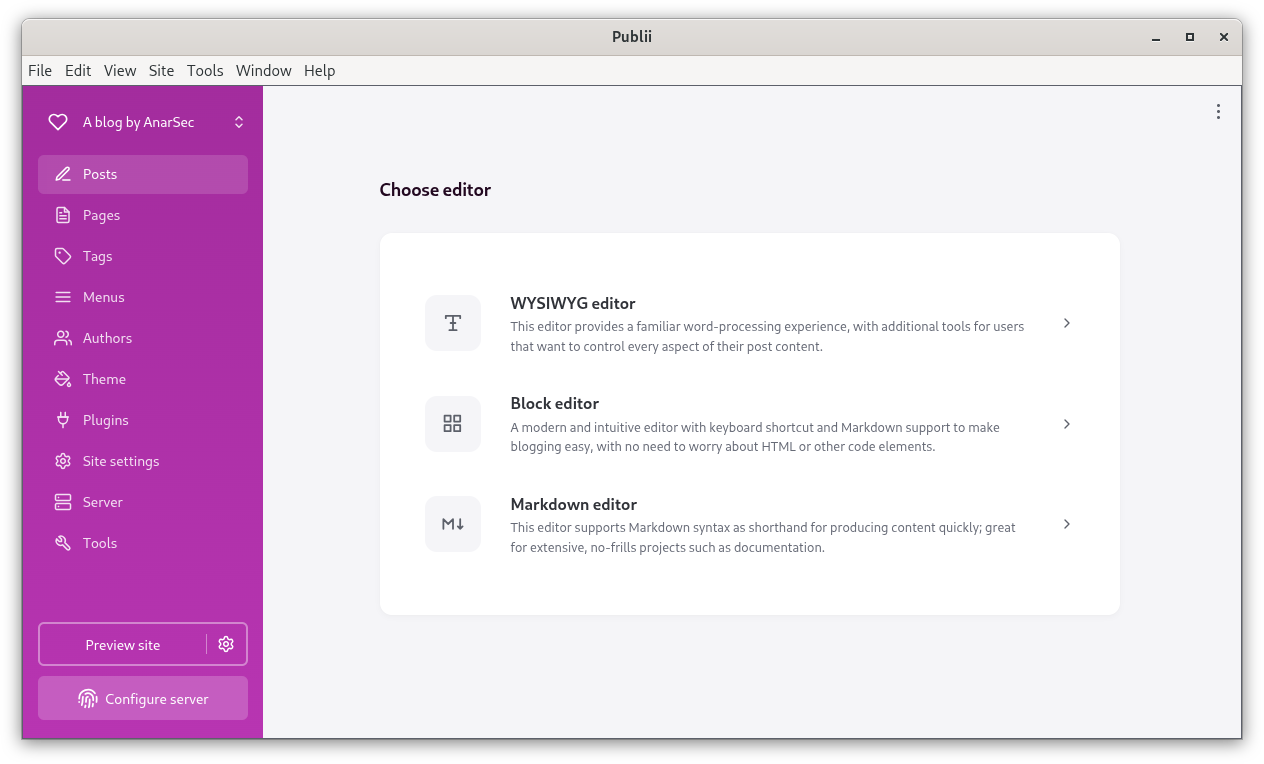
Everything should be pretty intuitive, especially if you've managed a Wordpress site before. If you have any questions, the "Content Creation" and "Options and Features" sections of Publii's documentation explain how everything works in detail.
The next time you start Tails and launch Publii, it will prompt you again to create a website. Unless you want to create a new website (you can create as many as you want!) just select Cancel and select your site in the list.
Publish your Site
Firstly, you should find a hosting provider—people who will manage the servers on which your site will be published. If you have friends or comrades who could do this, ask them! Otherwise, you can take a look at this list of radical hosting providers—several of them will host your website if they feel affinity towards your project. Or you could pay a reputable commercial hosting provider that accepts the Monero cryptocurrency, such as 1984. On Tails, you can exchange Monero using Feather.
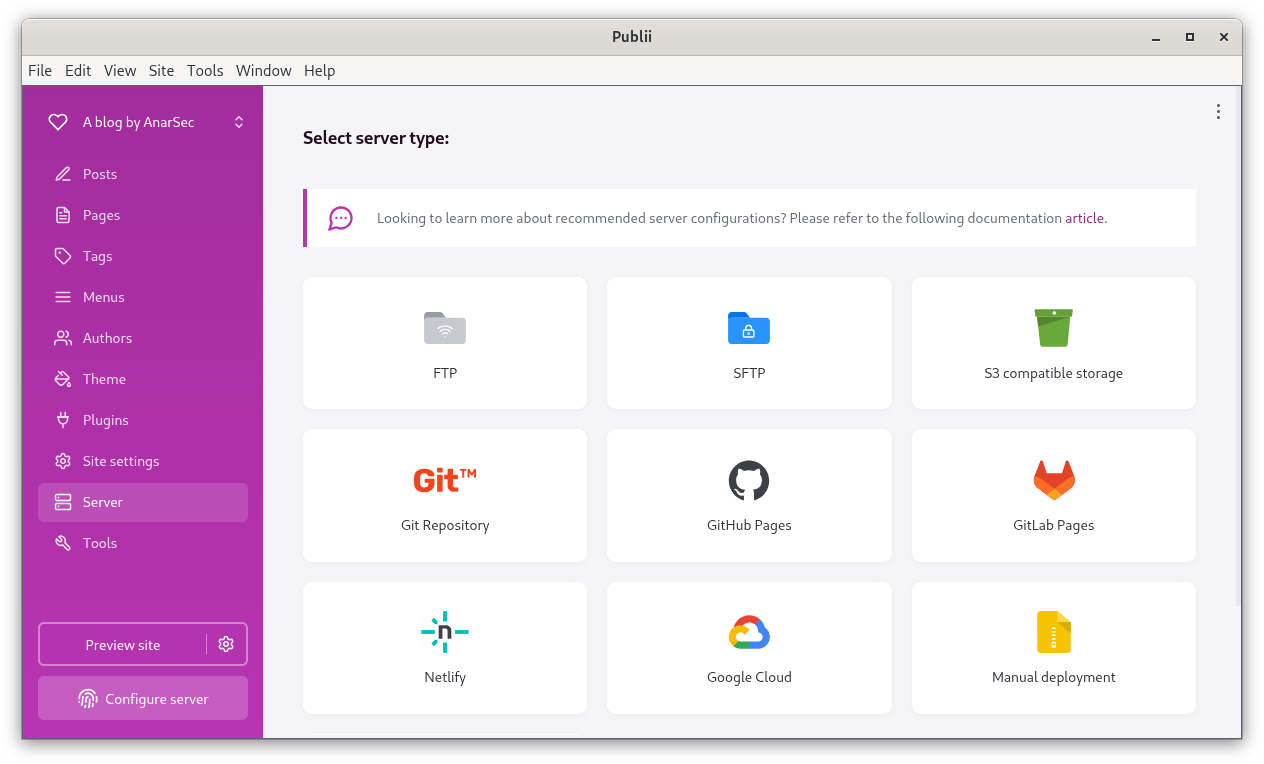
Publii supports many different ways of publishing your website to your provider's servers, listed in the Server tab of its main interface. However, due to Tails' security features, only three of those ways work on Tails: SFTP, Git Repository, and Manual deployment. Most providers will ask you to publish with SFTP, some may ask you to publish with a Git repository. If your provider supports neither SFTP nor Git, you will have to resort to manual deployment. Refer to the appropriate section below depending on what your provider asks you to use.
Some hosting providers may require you to purchase a domain name to publish your website. If you need to purchase a domain name anonymously, we recommend doing so through domain name sellers that accept Monero, such as 1984, OrangeWebsite, Mynymbox, or Njalla, and paying in Monero. Alternatively, you can ask your provider to make your website exclusively available through an .onion address, in which case you don't need a domain name.
Server Settings
Publish with SFTP
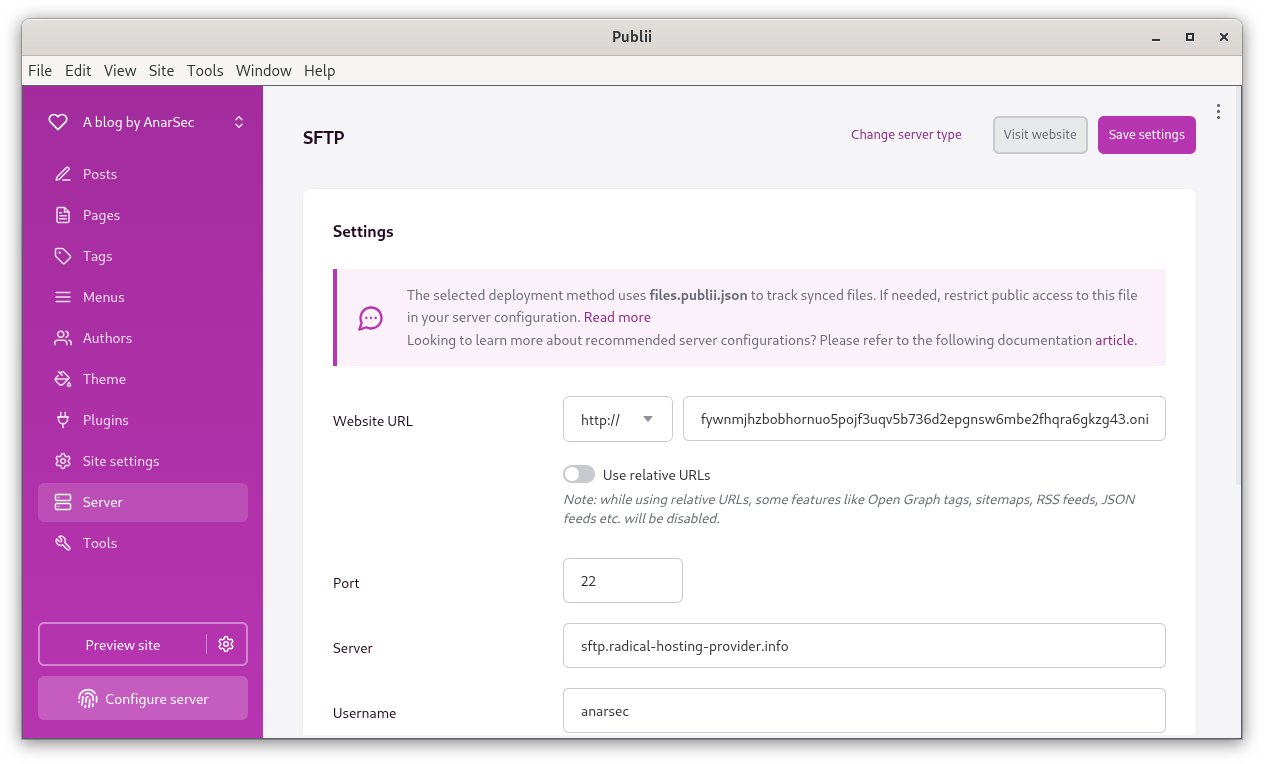
In Publii's main interface, select the Server tab, then select SFTP and fill in the fields:
- Website URL: The address at which your website will be accessible. If your site will use both a normal address and an .onion address, you should set the normal address here. If your site will only use an .onion address, set the .onion address. If you don't know what address your site will use, you can check Use relative URLs.
- Port: Network port used for the SFTP connection. (Your provider will tell you what to set.)
- Server: Address of the server used for the SFTP connection. This can be an .onion address. (Your provider will tell you what to set.)
- Username: Username used for the SFTP connection. (Your provider will tell you what to set.)
- Remote path: Server sub-folder where you site will be published. (Your provider will tell you what to set. If in doubt, just leave it blank.)
Configure your Authentication method depending on what your provider tells you to use:
- Password: If your provider tells you to use a password. (They will tell you what to set.)
- Key file: If your provider tells you to use a SSH key. Refer to the next section to learn how to do this.
Once you've filled in all the fields, select Save settings, then Sync your website on the left, and Sync your website again. Wait for the process to finish: your website is published!
Whenever you want to update your website in the future, select Sync your website.
Optional: Create and use a SSH key
A SSH key is a credential that can be used for SFTP connections. It's actually two keys: a private key and a public key. Both are small files that will be kept in your Persistent Storage. You should never send your private key to anyone, but you will send your public key to your provider. To create a SSH key on Tails:
- Select Apps > Tails > Persistent Storage and check SSH Client.
- Select Apps > System Tools > Console. In the console:
- Type
ssh-keygenand press Enter. - When it asks you where to save the key, press Enter.
- When it asks you for a passphrase, either type a passphrase and press Enter to set a passphrase, or just press Enter if you don't want to set a passphrase. Since your Persistent Storage is already encrypted, it's acceptable not to set a passphrase.
- When it asks you for the same passphrase again, same thing: either type the same passphrase you typed before and press Enter, or just press Enter if you don't want to set a passphrase.
- Type
Congratulations, you've created a SSH key! Your key is located in your Home folder, in the .ssh sub-folder. Your private key is named id_ed25519 and your public key is named id_ed25519.pub. Tip: If you are in your Home folder and can't see the .ssh sub-folder, press CTRL+H to make it appear.
Now:
- Send your public key,
id_ed25519.pub, to your hosting provider, for example by email. - Back in Publii, finish configuring the SFTP connection. Under Your private key select your private key,
id_ed25519. Under Key passphrase, enter your key passphrase if you've set one, otherwise leave blank.
If you follow the recommendations in our guide Tails Best Practices and store your data on a separate encrypted USB rather than using Persistent Storage:
- Skip the bullet point instructing to open Apps > Tails > Persistent Storage.
- After creating the SSH key, copy both the public and private key to the separate USB.
Publish with Git Repository
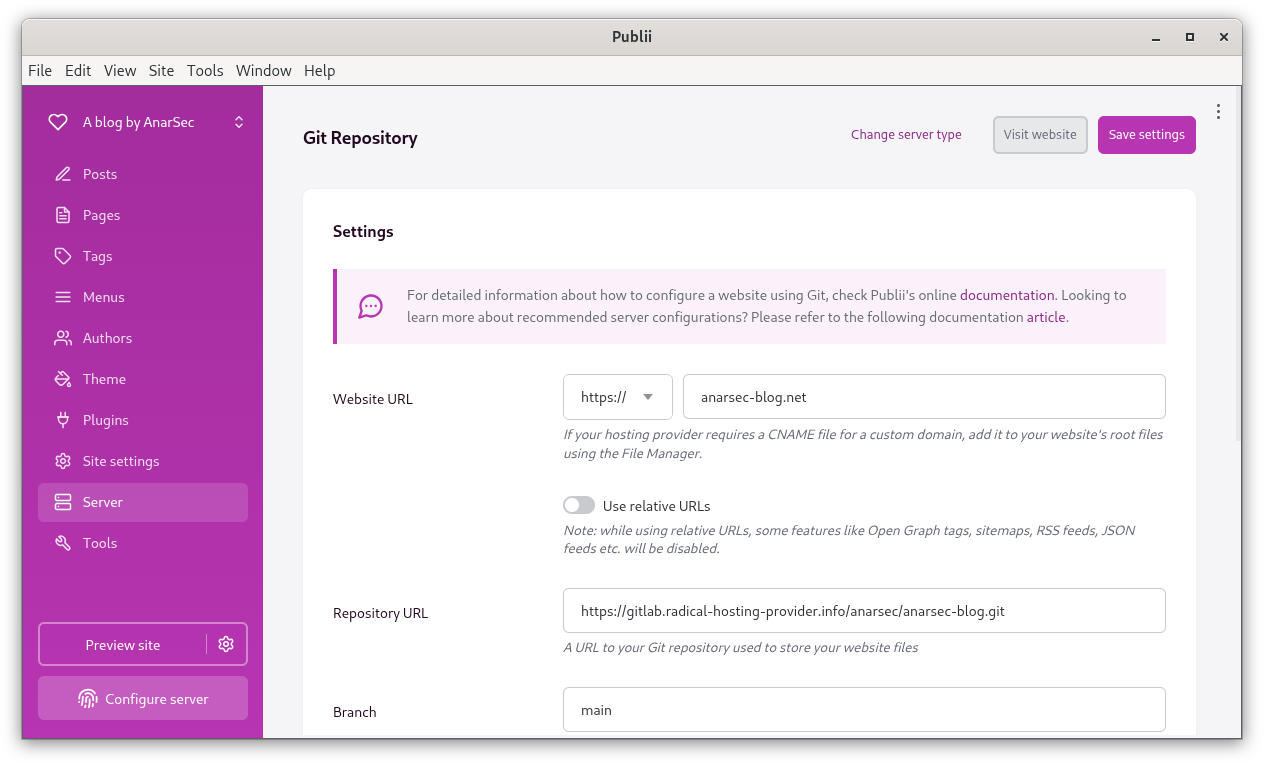
In Publii's main interface, select the Server tab, then select Git Repository and fill in the fields:
- Website URL: The address at which your website will be accessible. If your site will use both a normal address and an .onion address, you should set the normal address here. If your site will only use an .onion address, set the .onion address. If you don't know what address your site will use, you can check Use relative URLs.
- Repository URL: Address of the Git repository. This can be an .onion address. (Your provider will tell you what to set.)
- Branch: Name of the Git branch. (Your provider will tell you what to set.)
- Username: Username used for the Git connection. (Your provider will tell you what to set.)
- Password / Token: Password or token used for the Git connection. (Your provider will tell you what to set.)
- Commit author, Commit author email and Commit message: Enter whatever you want in these fields, taking into account that what you set will probably be visible publicly. The email doesn't have to be a real email address.
Once you've filled in all the fields, select Save settings, then Sync your website on the left, and Sync your website again. Wait for the process to finish: your website is published!
Whenever you want to update your website in the future, select Sync your website.
Publish with Manual Deployment
In Publii's main interface, select the Server tab, then select Manual deployment and fill in the fields:
- Website URL: The address at which your website will be accessible. If your site will use both a normal address and an .onion address, you should set the normal address here. If your site will only use an .onion address, set the .onion address. If you don't know what address your site will use, you can check Use relative URLs.
- Output type: Format of the files output by Publii.
- Output directory: Folder where Publii will output your website files.
Once you've fill in all the fields, select Save settings, then Sync your website on the left, and Prepare website files. Wait for the process to finish, then upload the files output by Publii to your provider's servers (ask your provider how you should do this).
Whenever you want to update your website in the future, select Sync your website and upload the files again.
Maintain a Backup of Your Site Data
When you use Publii For Tails, your site data—all your posts, pages, images, settings, everything that allows Publii to build your website—is kept in a folder named Publii inside the PubliiForTails folder. Your are responsible for this data: if you lose it, your hosting provider won't be able to give it back to you! You should therefore maintain a backup of it, in case you lose your Tails key.
We recommend two possible ways to regularly backup your site data: backup your Tails key, or make a remote backup.
Backup your Tails key
To backup your Tails key:
- Start Tails and unlock your Persistent Storage.
- Open Tails Cloner (Apps > Tails > Tails Cloner)
- Check Clone the current Tails and Clone the current Persistent Storage
- Insert your backup USB key and select it in the list.
- Select Install and wait for the process to finish.
We recommend storing your backup Tails key outside your home, so you don't lose both your main Tails key and your backup one in case of a police raid.
If you follow the recommendations in our guide Tails Best Practices and store your data on a separate encrypted USB rather than using Persistent Storage, instead of making a backup of your Tails key, manually copy the
PubliiForTailsfolder to a backup encrypted USB.
Make a remote backup
Coming November 2026.
Operational Security for Site Managers
Coming November 2026.
Appendix: Trusting Publii For Tails
Publii is developed by a small Polish software company called TidyCustoms. Publii For Tails is a fork (a modified version) of Publii that AnarSec maintains. Both are open-source, meaning that their source code is publicly available and can be audited.
There are two ways a malicious backdoor could be inserted in Publii For Tails:
- Insert the backdoor in its source code, or in the source code of one of the pieces of software it depends on. To defend against this, the only solution is to have its source code audited by a software developer or security researcher. We encourage you to do this, if you have the required skills or know someone who does. Publii has many users, so there are already some sets of eyes on the source code.
- Insert the backdoor while building the AppImage file. To defend against this, the Publii For Tails AppImage file is built by AnarSec, instead of relying on the official file. Additionally, if you are comfortable with Linux, you can build the AppImage file yourself using instructions provided by AnarSec.
Appendix: Making your Website Accessible through an .Onion Address
Coming November 2026.
Appendix: Collaborating with Others on the Same Website
Coming November 2026.
Appendix: Adding a Contact Form
Coming November 2026.
Appendix: Making a Multilingual Site
Coming November 2026.
Appendix: Recommended Configuration for Hosting Providers
Coming November 2026.
Categories:
 Defensive